You’ve done the headline work — the gutters are up, the miters look clean, the hangers are set — and now you’re staring at a bag of small metal and plastic parts wondering which ones actually matter. Downspout outlets (the fitting that punches through the bottom of the gutter trough and accepts the vertical drain pipe), elbows (the angled connectors that offset the pipe around soffits, walls, or grade changes), and slip connectors (short sleeves that join two sections of downspout pipe) are the unglamorous middle layer of any drainage system. They’re also the layer where most callbacks, leaks, and capacity failures originate. Get them right and water flows silently to grade every storm. Get them wrong and you’re back on a ladder explaining to a homeowner why the soffit is rotting.
This guide is calibrated for practitioners who already know the difference between a K-style and half-round profile but are still building the intuition for how outlet size, elbow count, and material matching ripple through long-term system performance. We’ll name tradeoffs, show the math where it matters, and end with clear decision rules.
Why Outlets Are the Real Capacity Bottleneck
Most contractors size gutters — the trough itself — correctly. They undersize the outlets. The outlet is the throat of the system: every gallon of water collected across the entire gutter run has to pass through that single opening before it ever reaches the downspout. Throttle the throat and it doesn’t matter how well you sloped your run.
By the numbers:
- A standard 2×3-inch rectangular outlet (common on 4-inch K-style) handles roughly 600–700 sq ft of roof drainage area in a moderate-rain region.
- A 3×4-inch outlet (matched to 5- or 6-inch K-style) handles 1,000–1,200 sq ft.
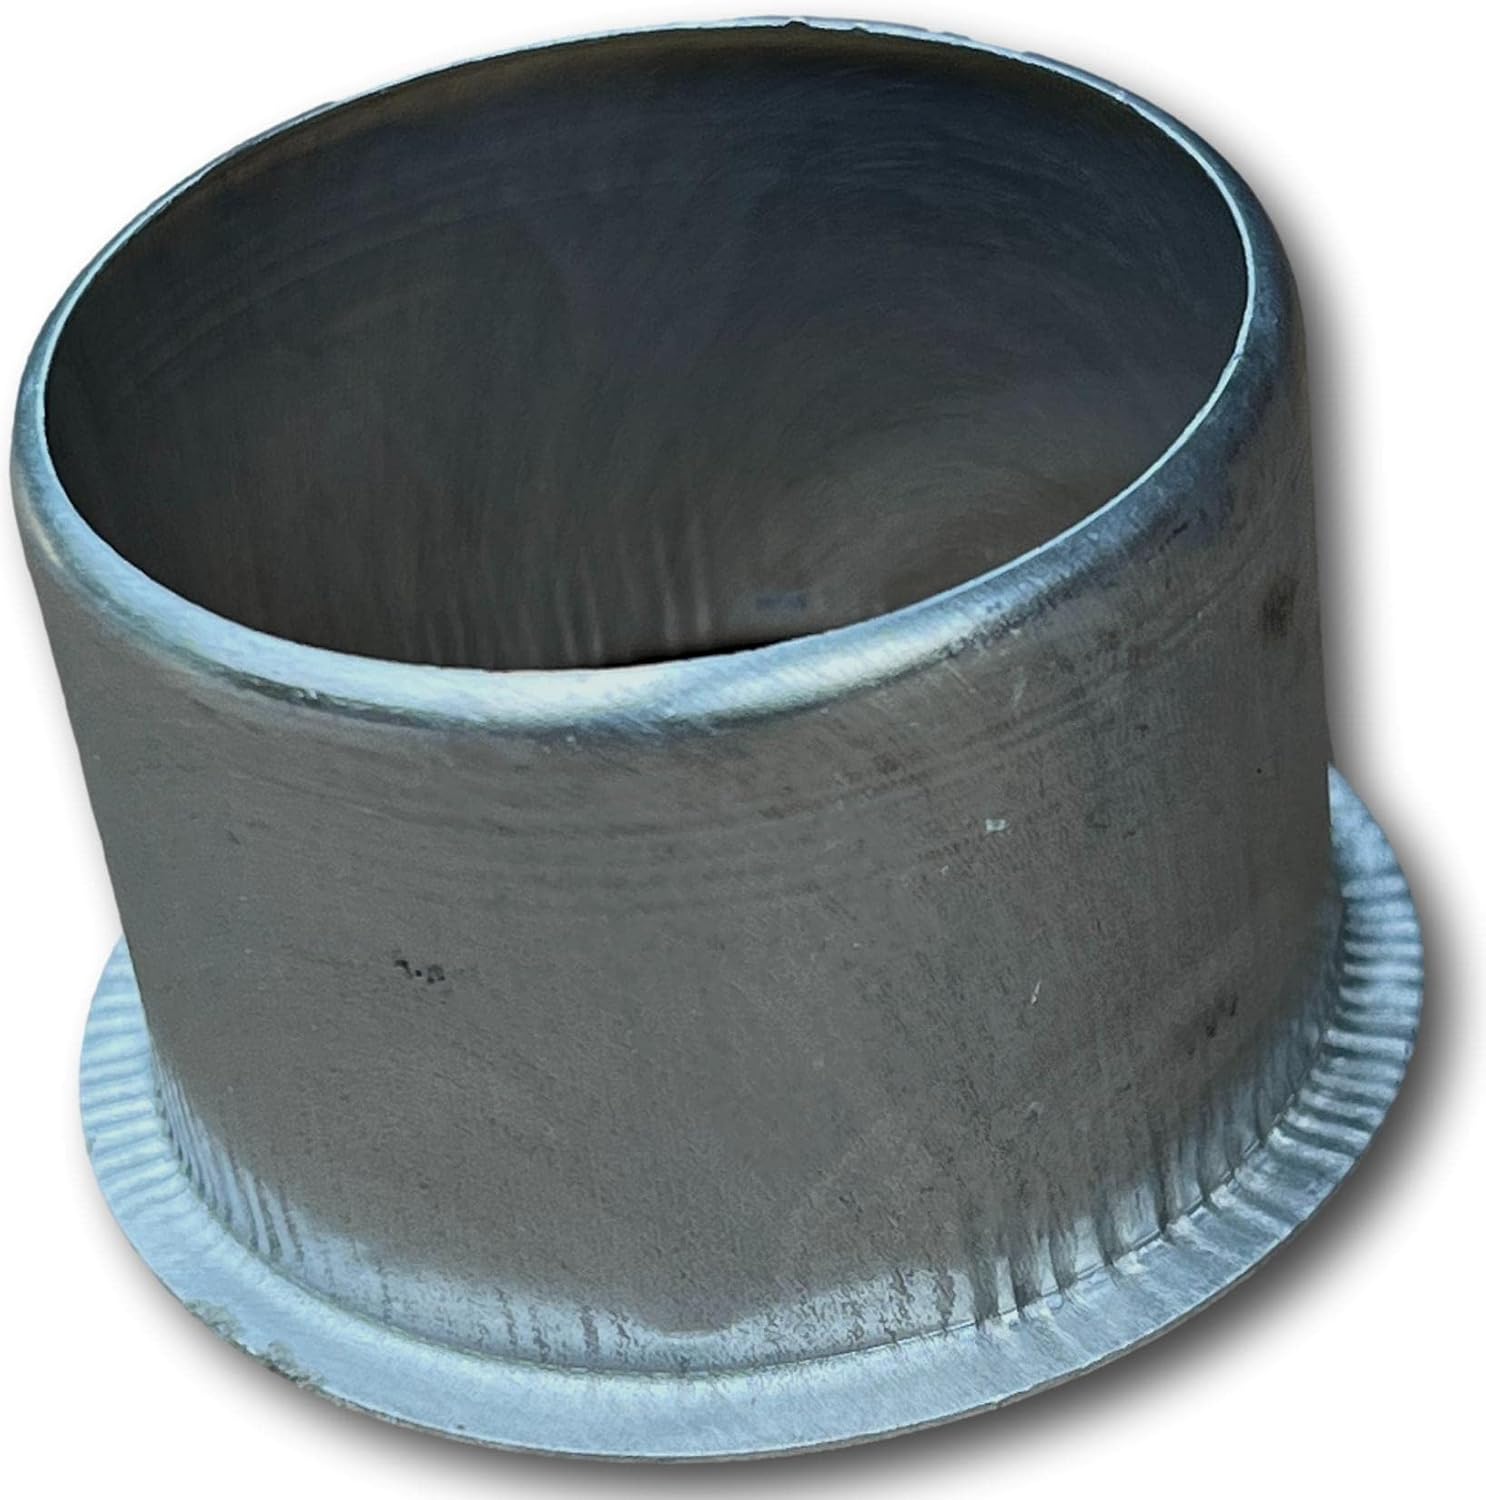
- A 3-inch round outlet on half-round gutters is roughly equivalent to the 3×4 rectangular in flow rate, per published specs from Gibraltar Building Products’ fabrication guides.
- Adding a second outlet on a long run — rather than upsizing to one large outlet — is frequently the better field fix: it reduces peak load per outlet and shortens the travel distance water must cover to exit the trough.
This Old House’s guidance on gutter installation reinforces the rule: outlet spacing should not exceed one outlet per 35–40 linear feet on a standard residential run, and complex rooflines with valleys feeding into a single gutter section should trigger a second outlet evaluation regardless of run length.
The practical trap here is the “it looks big enough” fallacy. A 2×3 outlet looks substantial until you’re looking at it during a two-inch-per-hour cloudburst in the Mid-Atlantic. Bob Vila’s overview of gutter types notes that undersized outlets are among the top three causes of gutter overflow complaints — ahead of clogging and improper slope.
Elbows: Every Bend Costs You Flow, So Count Them
A downspout elbow is an angled section — typically available in A-style (front-to-back offset, used to clear the soffit overhang) and B-style (side offset, used to walk the pipe around a corner or wall projection). Most residential installations use two A-style elbows at the top of the downspout run: one at the outlet to kick the pipe away from the fascia, and one to return it parallel to the wall. That configuration is called a “kickout” or “offset,” and it’s so standard that installers sometimes add it reflexively — even when the soffit geometry doesn’t require it.
Here’s the tradeoff that practitioners often underweight: every elbow reduces flow capacity. The friction loss through a single 75-degree elbow on a 3×4 downspout is modest in isolation, but a run with four elbows — outlet kickout, wall walk-around, grade transition, and splash block offset — can reduce effective flow capacity by 20–30% compared to a straight run, per hydraulic friction principles documented in Fine Homebuilding’s guide to getting gutters right.
The decision rule:
- Fewer than 3 elbows: Standard sizing holds. Spec the outlet and downspout for the roof drainage area and don’t compensate.
- 3–4 elbows: Consider upsizing the downspout one increment (2×3 → 3×4, or 3×4 → 4-inch round) to recover lost capacity.
- 5+ elbows or a run exceeding 20 vertical feet: You have a complex drainage path. Either redesign the downspout route, add a secondary outlet point, or upsize aggressively and document why for the homeowner.
Family Handyman’s installation guidance adds a practical note worth repeating: splash-back at the base is almost always caused by the bottom elbow being too close to grade, not by the downspout being too large. Give the final elbow at least 6 inches of clearance above the splash block or grade surface, and angle it 45 degrees (not 90) when the layout allows. The flow exits with momentum — a hard 90 at the bottom turns that momentum into turbulence and erosion.
Material Matching: The Compatibility Problem Nobody Talks About Until It Fails
This is the area where experienced installers still leave money on the table, particularly on mixed-material jobs or retrofits. The short version: connect like to like wherever possible, and when you can’t, use a transition strategy rather than a transition fitting.
Aluminum to aluminum: No controversy. Standard slip connectors with a bead of gutter sealant (not caulk — gutter-specific polyurethane sealant) at the seam. Aluminum expands and contracts significantly with temperature, so don’t over-rivet slip connectors. Leave 1/8-inch of play per 10 feet of run; a connector locked rigid on both ends will pull the seam apart over two or three freeze-thaw cycles.
Vinyl to vinyl: Snap-lock connectors engineered for the specific profile. The tradeoff is that vinyl connectors are profile- and brand-specific in ways that aluminum connectors are not. A connector from one vinyl gutter manufacturer may not seat correctly on another’s profile even if the nominal dimensions match. Fine Homebuilding’s guide to gutter installation notes this as a consistent source of installer frustration on retrofit jobs where the original brand is unknown.
Copper to copper: Solder or mechanical compression — no snap-fits, no adhesives. Soldering is the correct method for architectural-grade copper half-round systems (Revere Copper, Gibraltar Building Products’ copper line). Mechanical compression elbows exist and are faster to install, but they’re a step down in longevity and aesthetics on a $3,000+ system. If the homeowner is paying for copper, they’re paying for the permanence of a soldered joint. Installers who spec compression elbows on architectural copper jobs frequently hear about it at the two-year callback.
Cross-material connections (aluminum gutter to copper downspout, or vice versa): Avoid. Galvanic corrosion — the electrochemical reaction that occurs when dissimilar metals are in contact in the presence of moisture — will pit aluminum rapidly when it contacts copper. This isn’t theoretical: the Copper Development Association’s published guidance on copper in construction explicitly flags aluminum as a high-risk pairing. If a client wants copper downspouts on an aluminum gutter run, use a dielectric (non-conducting) transition — typically a short section of PVC pipe or a rubber coupling — between the two metals at the outlet connection.
Connector Grades and What the Fine Print Actually Says
Not all connectors are rated the same, and the warranty language in whole-system gutter programs (LeafFilter, MasterShield, and similar) frequently specifies that the system warranty applies only when manufacturer-supplied or -approved connectors are used throughout. This matters more than most practitioners realize at install time.
The spec sheet from Spectra Metal Sales for their seamless aluminum systems, for example, distinguishes between their own formed connectors (which meet their dimensional tolerance specs) and generic contractor-supply connectors (which may fit but which void the finish warranty if used in place of Spectra-supplied parts). For a $400–$800 installed-ready system, that’s a meaningful warranty exposure.
Three grades to know:
-
Builder-grade connectors — thin-gauge, often unlabeled as to origin, sold in bulk at big-box outlets. Adequate for DIY vinyl installs and short-run aluminum jobs where the gutter isn’t part of a warranted system. Not appropriate for architectural or commercial-grade work.
-
Contractor-grade connectors — heavier gauge, often sold by the same manufacturers as the gutter stock (Spectra, Amerimax, etc.), dimensionally matched to their profiles. This is the minimum for any job you’re putting your name on.
-
Architectural/custom connectors — copper, cast zinc, or formed stainless, typically fabricated or sourced through specialty suppliers. Required for half-round copper systems and any job where the outlet and elbows will be visible as a design element (think: exposed copper downspout with decorative elbows on a craftsman exterior).
If X, Then Y: Decision Rules for Speccing Connectors on a Live Job
If you’re mid-bid or mid-install and want a quick framework:
If the roof drainage area per outlet exceeds 800 sq ft, upsize the outlet before you upsize the gutter. The outlet is cheaper to change than the trough.
If the downspout route requires more than 3 elbows, either redesign the route or upsize the downspout one increment and document it in your scope-of-work notes.
If the job involves any copper, solder the connections. Compression elbows are a shortcut that shows up in the callback log.
If the job is part of a warranted leaf-guard system, pull the manufacturer’s connector specs before purchasing fittings. Generic connectors are a warranty void waiting to happen.
If you’re connecting dissimilar metals, budget for a dielectric transition fitting. The $4 part prevents a $400 repair conversation in year three.
If the homeowner is design-forward — coordinating gutter profile, finish, and downspout placement with their exterior package — treat the elbows and outlets as visible design elements, not just plumbing. Exposed copper elbows on a craftsman or historic exterior are a feature, not an afterthought. Spec them accordingly and call it out in your proposal.
The small parts aren’t where you win a bid. But they’re absolutely where you lose a reputation.