You’ve climbed the learning curve. You know the difference between K-style and half-round. You can quote a lineal-foot price without flinching. But here’s the gap that bites even experienced remodelers: the gutter trough is only the beginning. What actually protects a foundation is the complete downspout system — the sequence of components that collects water at the roofline, turns it away from the wall, extends it past the foundation footprint, and disperses it safely at grade. Get one component wrong and the others don’t matter. A perfectly specified gutter draining two inches from the foundation wall is a slow-motion basement leak.
This guide walks through every link in that chain — outlet sizing, elbow geometry, downspout runs, extension options, and terminal splash control — with the decision math you need for jobs currently on your plate.
The System, Component by Component
Think of the downspout system as a pipeline with five decision points. Each one feeds into the next, and a specification mistake at any point degrades every downstream component.
1. The Outlet (Where the Gutter Hands Off to the Pipe)
The outlet is the stamped or riveted opening cut into the gutter bottom, sized to accept the downspout. Standard residential outlets are either 2×3-inch (matching a 2×3 rectangular downspout, the most common profile on homes built before 2000) or 3×4-inch (increasingly standard on new construction and any run exceeding 35 linear feet of gutter). Round downspouts — common on half-round gutter systems — typically match 3-inch or 4-inch diameter outlets.
The math that matters here: A single 2×3 outlet handles roughly 600 square feet of roof drainage under moderate rainfall intensity (about 1 inch per hour). A 3×4 outlet handles roughly 1,200 square feet. Per Fine Homebuilding’s drainage detail guidance, undersizing the outlet is one of the three most common causes of gutter overflow, and it’s invisible until you’re standing in rain watching water pour over the lip.
Decision rule: If the tributary roof area per downspout exceeds 800 square feet, or if the project is in a climate zone with rainfall events above 4 inches per hour (Gulf Coast, parts of the Southeast, the Pacific Northwest foothills), spec 3×4 outlets regardless of what the existing system used.
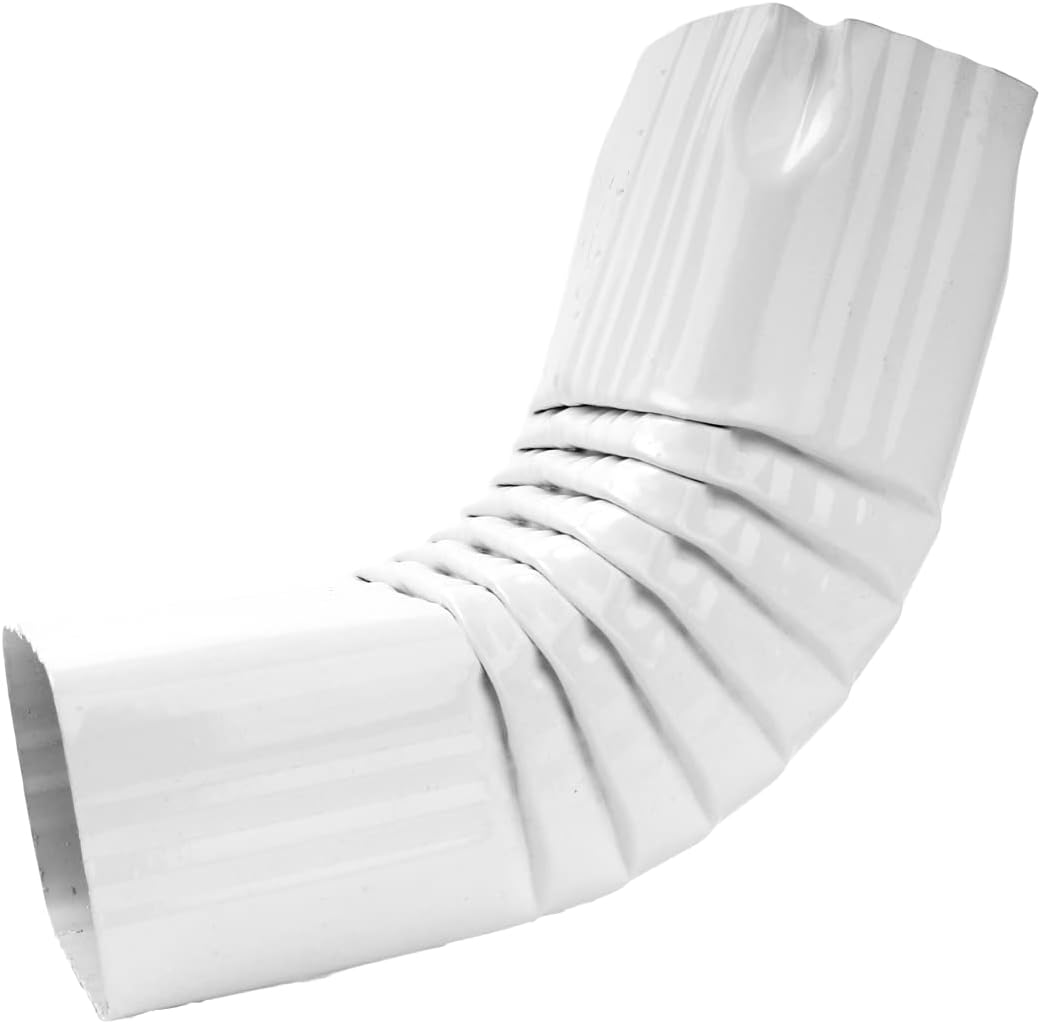
2. The Offset Elbows (Getting the Pipe Off the Wall)
An elbow is simply a bent section of downspout pipe that changes the flow direction. On most residential installs, you need two elbows at the top of each downspout run: one to angle the pipe away from the fascia (the board behind the gutter), and one to redirect it back to vertical. Together they form an offset — sometimes called a “swan neck” — that bridges the gap between the back of the gutter and the wall surface.
Where practitioners get tripped up: Elbows come in A-style and B-style, based on the direction of the bend relative to the outlet opening. A-style bends front-to-back; B-style bends side-to-side. On a wall with a pronounced soffit overhang (12 inches or more), you’ll need a deeper A-style offset than on a flush-fascia contemporary exterior. Mismatching elbow style to soffit depth is how you end up with a downspout that presses against the wall instead of clearing it — which traps moisture and accelerates paint failure.
Elbows are sold by bend angle: 45° and 75° are standard. A steep soffit may require a 75° elbow to make a clean transition in a short vertical distance. As This Old House’s gutter installation guide notes, the offset assembly should clear the wall by at least half an inch to allow for wall movement and caulking clearance.
3. The Downspout Pipe (The Vertical Run)
The pipe itself seems simple — it’s just a tube. But length, attachment frequency, and joint design have real consequences.
Straps and brackets: Building code in most jurisdictions (check your local amendment to IBC Section 1503) requires downspout straps at maximum 10-foot intervals. On runs taller than 16 feet — two-story homes with gutters at eave height — that means a minimum of two strap locations per downspout. Vinyl straps on aluminum downspouts in freeze-thaw climates (Zones 5–7) have a known failure mode: the strap stays fixed while the pipe contracts in cold, eventually cracking the connection. Aluminum or stainless straps are the better call on any job where winter temperature swings exceed 50°F.
Seam orientation: Downspout sections are typically 10-foot lengths that telescope together. The upper section always fits inside the lower section — water flows inside the pipe, not into the joint. It sounds obvious, but Family Handyman’s downspout extension guide notes this as one of the most commonly reversed DIY errors, and it causes water to bleed out of every joint in a long run.
Extensions: The Most Under-Specified Component in Residential Drainage
If the downspout is the highway, the extension is the off-ramp — and most residential drainage failures happen at the off-ramp. Extensions move water from the base of the downspout horizontally, away from the foundation, to a discharge point that won’t saturate the soil at the footing.
How Far Is Far Enough?
The International Residential Code (IRC Section R801.3, referenced in most state building codes) requires surface drainage to be directed away from foundation walls at a minimum slope of 6 inches over the first 10 feet. But that’s a grade requirement, not an extension length requirement. Fine Homebuilding’s coverage of drainage details recommends that downspout discharge occur no closer than 4 feet from the foundation — and 6 feet is the more defensible target on homes with full basements or crawlspace foundations. Angi’s 2025 cost guide for gutter installation notes that improperly terminated downspouts are cited in a significant percentage of residential foundation repair claims, making extension length a real liability issue for contractors.
Extension Types and Tradeoffs
| Type | Typical Cost (per unit) | Best For | Limitation |
|---|---|---|---|
| Hinged aluminum flip-out | $8–$18 | Mowing clearance, retrofits | Short reach (24–36 in.), looks utilitarian |
| Rigid aluminum elbow + extension | $12–$30 | Permanent installs, clean aesthetics | Fixed position, requires matching finish |
| Corrugated flex pipe | $15–$40 | Tight corners, buried discharge runs | Traps debris, sags over time |
| Underground PVC drain tile | $75–$200+ installed per run | High-end installs, zero surface clutter | Labor intensive, requires grading plan |
| Roll-out/coil style | $10–$25 | Temporary or seasonal use | Easily displaced, not contractor-grade |
The tradeoff most practitioners underweight: Corrugated flex pipe — the ribbed black plastic tubing sold at every home center — is a debris trap. Shingle grit, leaf fragments, and sediment accumulate in the corrugations and in any low spot. Bob Vila’s product overview of downspout extensions specifically flags flex pipe as a maintenance liability on any run longer than 4 feet. If the job calls for buried discharge, use smooth-wall Schedule 35 PVC with cleanout access — it’s more expensive upfront but the callback rate on corrugated buried runs is significant.
For architectural-grade projects: On copper half-round systems where the aesthetic carries through to grade level, a formed copper or lead-coated copper extension maintains the design continuity. Revere Copper and Gibraltar Building Products both offer formed copper elbows and short extensions that terminate cleanly above a decorative splash basin. Rain chains — the vertical linked-chain alternatives to downspout pipes that are common in Japanese architectural tradition and increasingly specified on craftsman and contemporary high-end homes — require a separate discharge strategy entirely, typically a buried basin or a surface gravel channel, since they disperse rather than direct flow.
Splash Blocks and Terminal Drainage: Where Water Finally Lands
The splash block (a sloped concrete or plastic pad placed at the base of the downspout extension) is the most visually obvious component in the system and the one most frequently treated as an afterthought. It isn’t.
A splash block does two things: it prevents soil erosion directly beneath the discharge point (without it, a concentrated stream will excavate a pit that gradually undercuts grade slope), and it directs the sheet flow away from the structure at a consistent angle.
Size matters: Standard residential splash blocks are 24 inches long. That length is adequate for moderate rainfall on a standard 2×3 downspout system. On a 3×4 system handling 1,000+ square feet of roof, or in a high-intensity rainfall region, a 36-inch block is worth the $5–$10 premium. The block’s slope should be visually obvious — if it looks level, it probably is, and level splash blocks are effectively ornamental.
Integration with grading: The splash block’s discharge end should align with the natural swale (a shallow drainage channel in the yard) or a constructed French drain inlet. Per the drainage detail coverage in Fine Homebuilding, the failure mode is a splash block pointed at a flat lawn that saturates in heavy rain and allows water to sheet back toward the foundation. On sloped sites, a concrete or stone-lined channel extending from the splash block to a catch basin is worth specifying.
Design-forward options: Architectural stone splash blocks — bluestone, granite, or cast concrete — are increasingly common on custom builds where the gutter system is part of a deliberate exterior design. These function identically to standard concrete blocks but coordinate with hardscape. Paired with a copper downspout and a rain chain, a custom splash basin can become a deliberate water feature rather than a drainage necessity.
The Decision Frame: If X, Then Y
If you’re specifying a system right now, here’s the decision logic distilled:
If the tributary roof area per downspout exceeds 800 sq ft, or the site is in a high-intensity rainfall zone: Spec 3×4 outlets and downspouts, regardless of what was there before. The upgrade cost is modest; the callback cost is not.
If the soffit overhang exceeds 10 inches: Verify elbow style and bend angle before ordering. A-style 75° elbows are usually correct; don’t assume the standard 45° will clear the wall.
If the job involves a finished basement or crawlspace on a tight lot: Hard-pipe the discharge underground with smooth-wall PVC to a daylight outlet or dry well. Flex corrugated buried runs are a future service call.
If the project is architectural-grade (copper, half-round, custom exterior): Extend the material and finish logic all the way to grade. A copper gutter system terminating in a black plastic splash block is a missed opportunity and, for discerning clients, a visible inconsistency that undermines the whole package.
If the budget is tight and the extension is surface-mounted: Use a rigid aluminum elbow-and-extension, not a flex pipe. It’s more permanent, cleaner, and actually cheaper over time. A hinged flip-out is acceptable on a rear elevation where aesthetics are secondary.
The downspout system is unglamorous work. But it’s also where water either leaves the building site safely or starts a slow argument with your client’s foundation. Spec it like it matters — because it’s the part of the drainage system that actually does the work.